Skip to main content
Menú
Inicio
Conócenos
Dónde estamos
Publicaciones
Formación
Organización y Gestión
Voluntariado y Participación
Proyectos
Cooperación Internacional
Socorros y Emergencias
Cruz Roja Juventud
Atenpro (violencia de género)
Materiales de Apoyo
Transporte Adaptado
Agrupación Musical Cruz Roja
Reclusos
Personas Mayores
Vida Asociativa
Inmigrantes
Empleo. Mi GPS Laboral
Campañas
Socios
Captación de Fondos
Donativos
Multimedia
Galería fotográfica
Videos
Audio
Descargas
Noticias
Noticias Archivadas
Contacto
Inicio
Conócenos
Dónde estamos
Publicaciones
Formación
Organización y Gestión
Voluntariado y Participación
Proyectos
Cooperación Internacional
Socorros y Emergencias
Cruz Roja Juventud
Atenpro (violencia de género)
Materiales de Apoyo
Transporte Adaptado
Agrupación Musical Cruz Roja
Reclusos
Personas Mayores
Vida Asociativa
Inmigrantes
Empleo. Mi GPS Laboral
Campañas
Socios
Captación de Fondos
Donativos
Multimedia
Galería fotográfica
Videos
Audio
Descargas
Noticias
Noticias Archivadas
Contacto
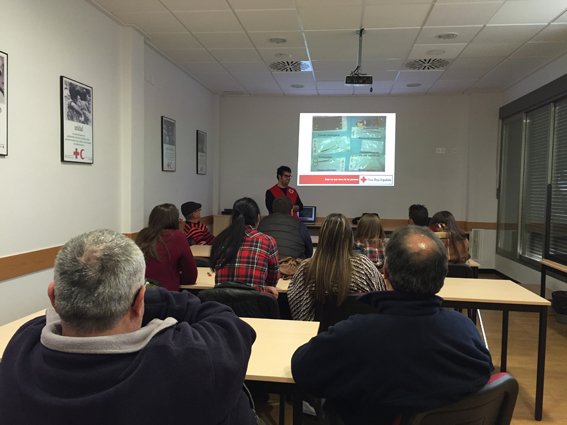
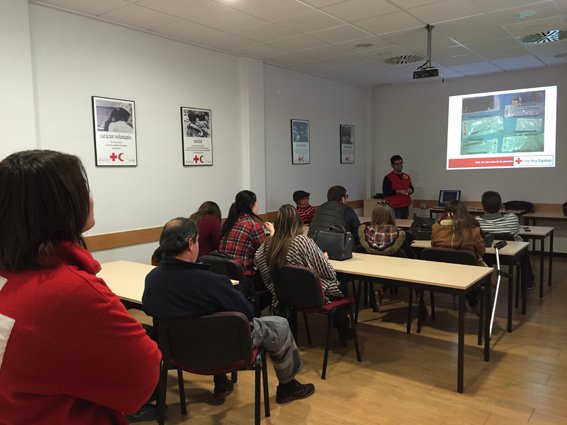
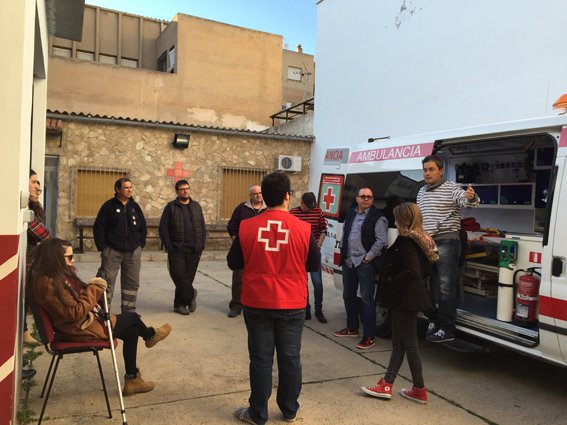
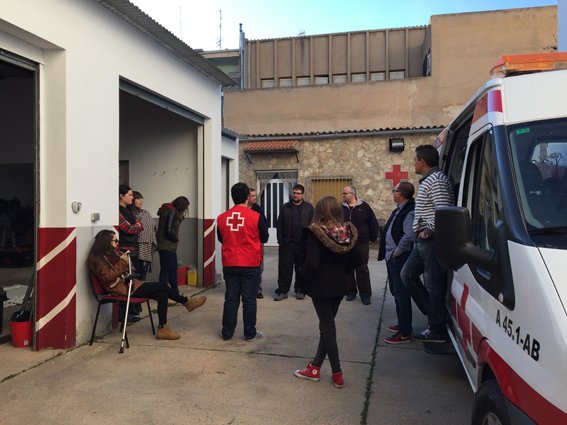
2016
image1
image1
Detail
image2
image2
Detail
image3
image3
Detail
image4
image4
Detail
Title
Ordering
Ordering Ascending
Ordering Descending
Title Ascending
Title Descending
Date Ascending
Date Descending
Rating Count Ascending
Rating Count Descending
Rating Ascending
Rating Descending
Hits Ascending
Hits Descending
Display Num
5
10
15
20
50
All
Play Slideshow
Pause Slideshow
Powered by
Phoca Gallery